

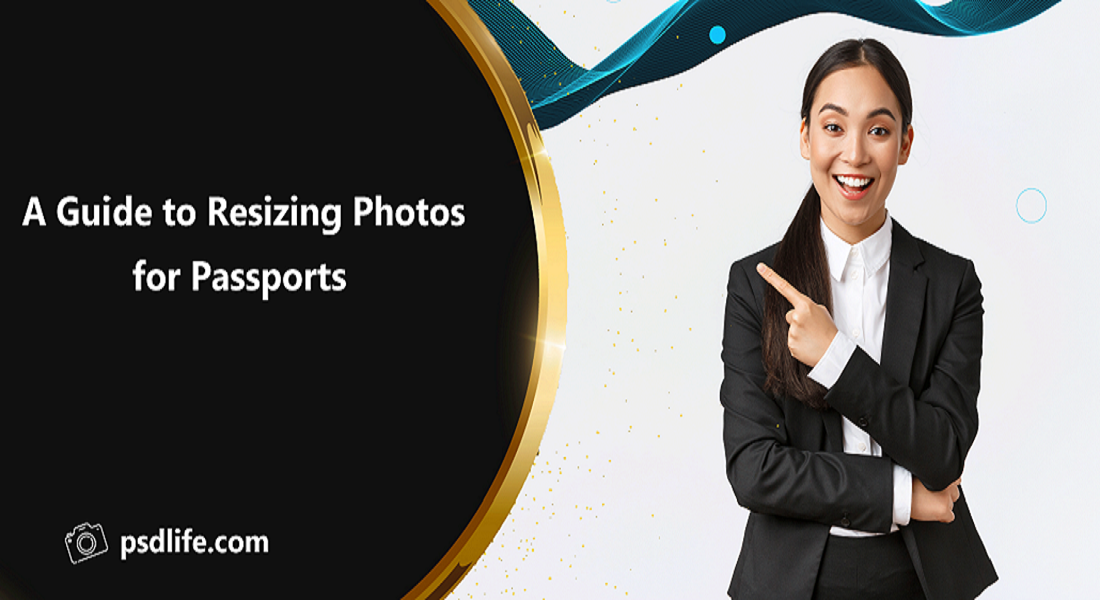
How do I make a passport photo template in Photoshop
What is PSD Web Template Design?
In basic terms, a PSD is Photoshops file. When you save the file as a PSD you save each separate layer and the different aspects of those layers including transparency, special effects, and more. You can create a design where each shape, text element, and photo is on its own separate layer, and with the layers separated you can edit each element quickly and easily.
what is a PSD??
The. PSD (Photoshop Document) … stores an image with support for most imaging options available in Photoshop. These include layers with masks, color spaces, ICC profiles, transparency, text, alpha channels and spot colors, clipping paths, and duotone settings. The PSD Life site has been active in the field of selling PSD files for several years In this article, we are going to guide you with some of the questions that have confused many of you, so stay with us.
Well, our friends, we have tried to give you a short explanation about PSD. In this article (How do I make a passport photo template in Photoshop), we are going to answer some of your questions, so let’s go to the first question:
Question 1:
How do you make a 2×2 passport photo in Photoshop?
Creating a passport photo in Photoshop can be done in a few simple steps. To get started, first open Photoshop and create a new document. Next, select the Rectangular Marquee Tool (M) and draw a rectangle around your head, leaving some space around the edges. Next, select the Ellipse Tool (L) and draw an oval shape around your head. Make sure the “Align to Path” checkbox is enabled, then click and drag the corners of the ellipse around your head to adjust the size and shape. Press control + T to activate this section. Finally, using the Text tool (T), write your name in the center of the oval.
When finished, click OK to close the Ellipse tool. Then use the Gradient Tool (G) to fill the oval with a light blue gradient. Finally, use the Eraser Tool (E) to erase the extra parts you don’t need. Then your passport photo is ready.
important note
( This is a Photoshop tutorial for making a 2×2 passport photo. Please note that real passport photos have different conditions than these, please make sure before starting the training that this training is what you need. Thank you. )
Question 2:
How do I make a passport photo template in Photoshop?
Use the following calculation: Here I use 300 dpi as an example.
- Step 1: Calculate the height and width in pixels. US passport photo for which the size is 2″x2″, the size in pixels is 600×600 pixels. Just use 300 x length in inches.
- Step 2: Calculate the photo paper size in pixels. For 4″x6″ paper, the size in pixels is 1200×1800 pixels
- Step 3: Create a new image of size 1200×1800 pixels
- Step 4: Crop a photo and resize it to 600×600 pixels Copy and paste the photo to the image created in step 3. Use the technique here to take a passport photo with good lighting: Look Great on Your Passport
The photo taken may be of gray background even when you take the photo against a white wall, you can use 123passportphoto.com to generate a white background photo.
- Step 5: Save the photo and print it to 4″x6″ photo paper For US passport photos, you can either use matte or glossy photo paper. Other countries may require matte, semi-matte, or glossy paper. You need to check the passport photo specification. You should have 6 passport photos of the correct size for the US passport photo. I hope that with this guide you can edit and prepare your passport photo.
Question 3:
How do I create a passport template?
Ideally, we’d like to create a completely personalized passport for each person, but that can be very time consuming and a little difficult. A pre-made plan or “template” is more efficient (if less person-centered). A template can also provide passport newbies with not only a layout/framework but some examples that prompt and suggested ideas about what to put on each page and how to present it. We will tell you the solution. But please avoid turning passport production into an “assembly line” process using the same layout and graphics for everyone, and try to expand and personalize each one as much as possible.
So far, we hope that you have understood the topic of our article and we have understood how to design photos with different sizes in Photoshop. Well, friends, no matter how much you design good photos, you need a passport, a passport that you can use for any country you want. Well, we have understood the issue so far. If you still have a problem, go back and read again, because I will tell you more important things later.
Be sure to read the important content
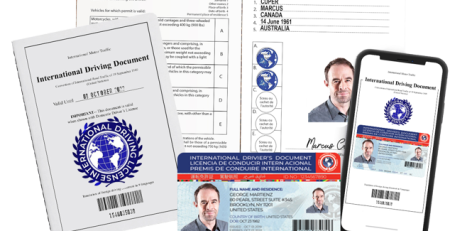
The topic of our article was How to make a passport photo template in Photoshop, and we tried to convey important issues to you, but now I want to make your work easier. Well, friends, the easiest thing for you is that after editing the photo, you will need a passport, not a real passport, but a fake one, because a real passport cannot be used anywhere. Selling all the documents you need including your passport, ID card, driver’s license, and receipts in any field.
Well, you can view the passport PSD products that we have put in the form of a link. After viewing them, you will see different types of passports from different countries, don’t be surprised. Yes, you can buy any country you want and don’t worry about your real passport anymore. I will tell you how to use it.
How to use the Passport PSD file of the PSD Life site
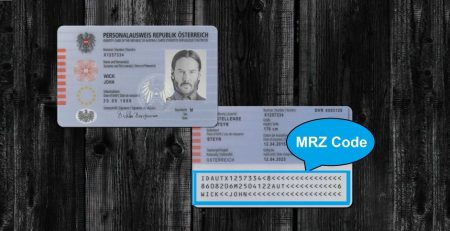
Dear ones, after buying a passport from any country you want, you will need to include your details in them, so our support team has made this easy for you.
So now you are asking yourself how?
Well, the answer is that by paying a very small fee, you can receive the passport file with your own specifications, i.e. with your photo and date of birth… at this time, you don’t need to do any more work and you don’t need to take the photo with difficulty. Edit yourself. Leave your work in peace and you will be comfortable. This product means Customize and Edit ID, Passport, DL license, and Bill with your information must be purchased separately and after purchase, you can contact the support and raise your problems.


Leave a Reply
You must be logged in to post a comment.